
Azure Storage Accounts are a great way to store media, application logs, simple queue and basic database storage as well. They are very cheap to run for what you get and they have great availability. In this article we will see how to create an Azure Storage account using the Microsoft Azure Portal.
Firstly make sure you have a Microsoft Azure Account and if you do not go and register for free. You can access the Azure Portal using this link: https://portal.azure.com/ .
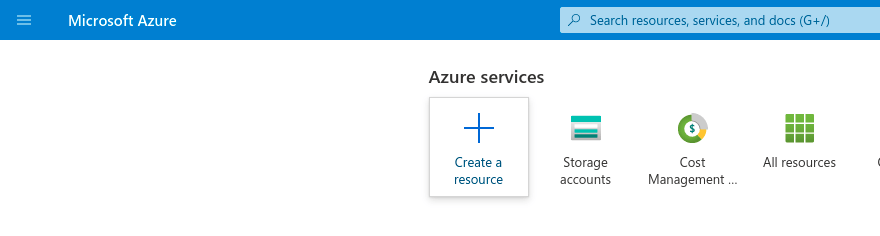
Next select Storage Accounts from the dashboard navigation and then click "Create Storage Account"
This will begin the Storage Account creation wizard. In the first section you will be mainly adding things like resource groups and choosing names for your account.
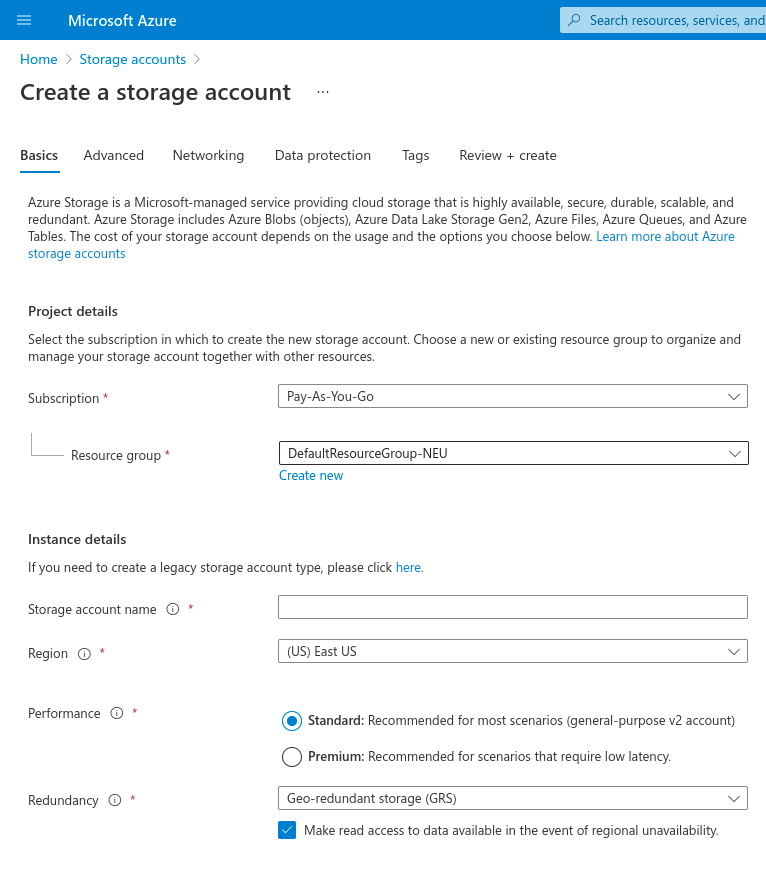
The important fields here are performance and Redundancy. Most applications should use Standard as this provides very reliable and quick read and write speeds. Premium is for very specific needs that you would most likely know about when setting up your application. Redundancy is what happens to your data should there be an incident at the region where you set up your storage account. This selection defines what the failover process should be. Geo-redundant storage (GRS) is the most common and best choice here.
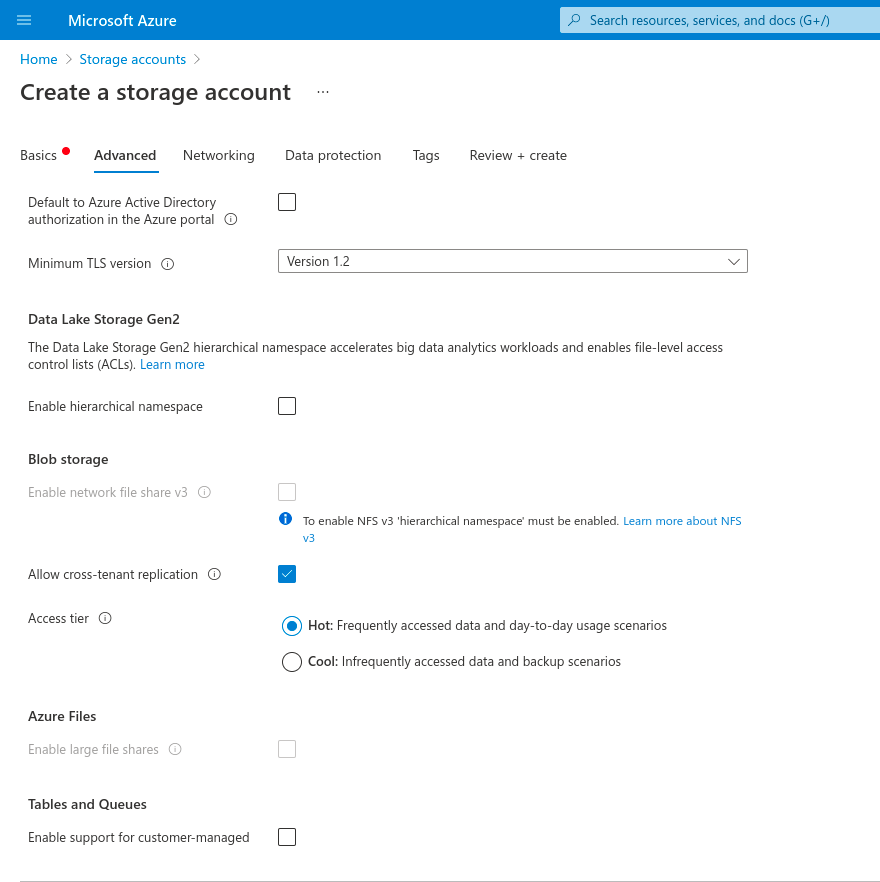
In the Advanced tab you can change security settings. Access tier is used to define how often you will be accessing the data in the account. For applications which will be connecting to the storage account you should select Hot. Cool is used for situations where you want to store data or files in the cloud but you won't be using them and are keeping them for archive purposes or as a backup.
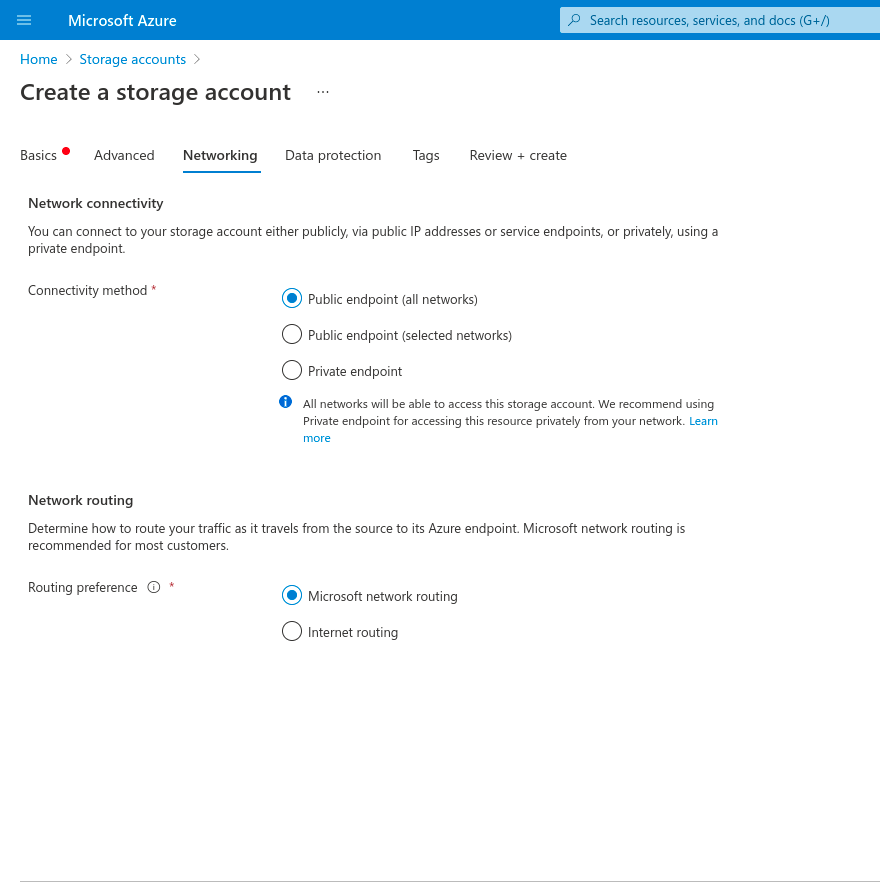
The Networking tab describes how you and other will be connecting and accessing the storage account. Here you can connect with other Microsoft Azure services like Private endpoints and Virtual Networks.
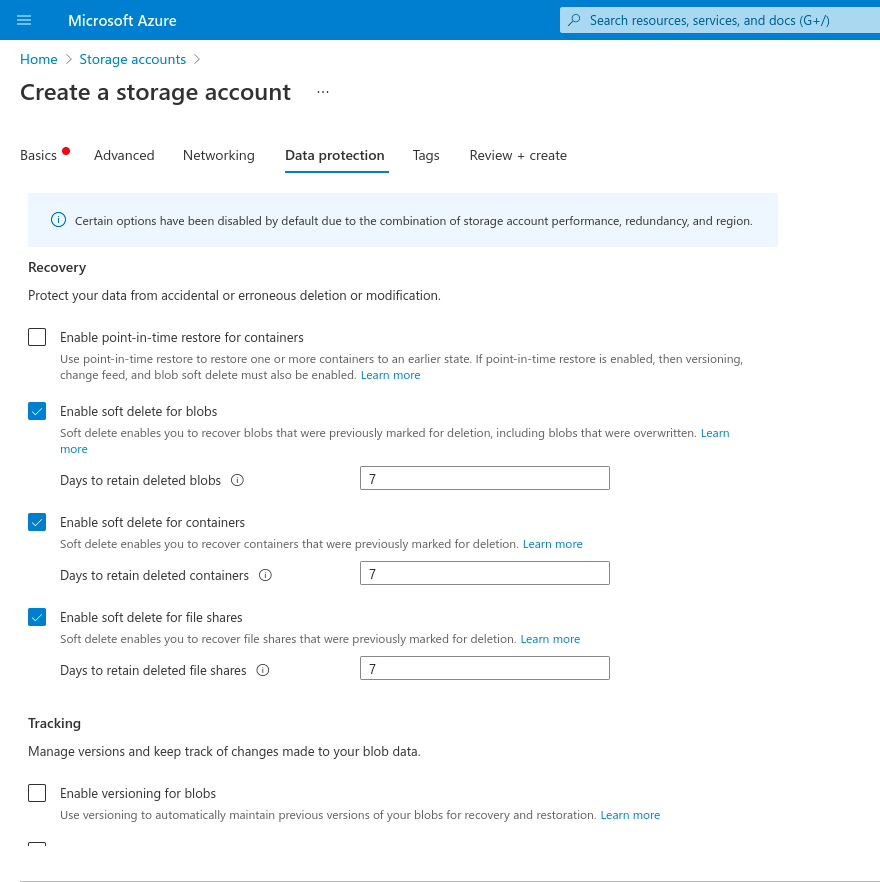
In the Data protection tab you can set things like soft deletes and your retention policy for files and data.
That's it for creating a storage account! Now to connect to it you will need the connection string which you can grab from the Access Keys section. This way your application can connect to the Storage Account.