C# .NET Core is one of the most popular programming languages and frameworks currently available. The reason for this is it provides great versatility, a lot of built in functionality and brilliant support. In addition to this it is backed by Microsoft and used everywhere in Microsoft Azure. In this tutorial we will look at how we can create a new web project with .NET Core and the terminal commands. The benefits of .NET Core is that you can run it on Windows, Linux and OS X. So while this tutorial will be looking at Linux, everything here you will be able to replicate on any other operating system.
First off, to install .NET Core head over to the download link here and select your Operating System and processor architecture.
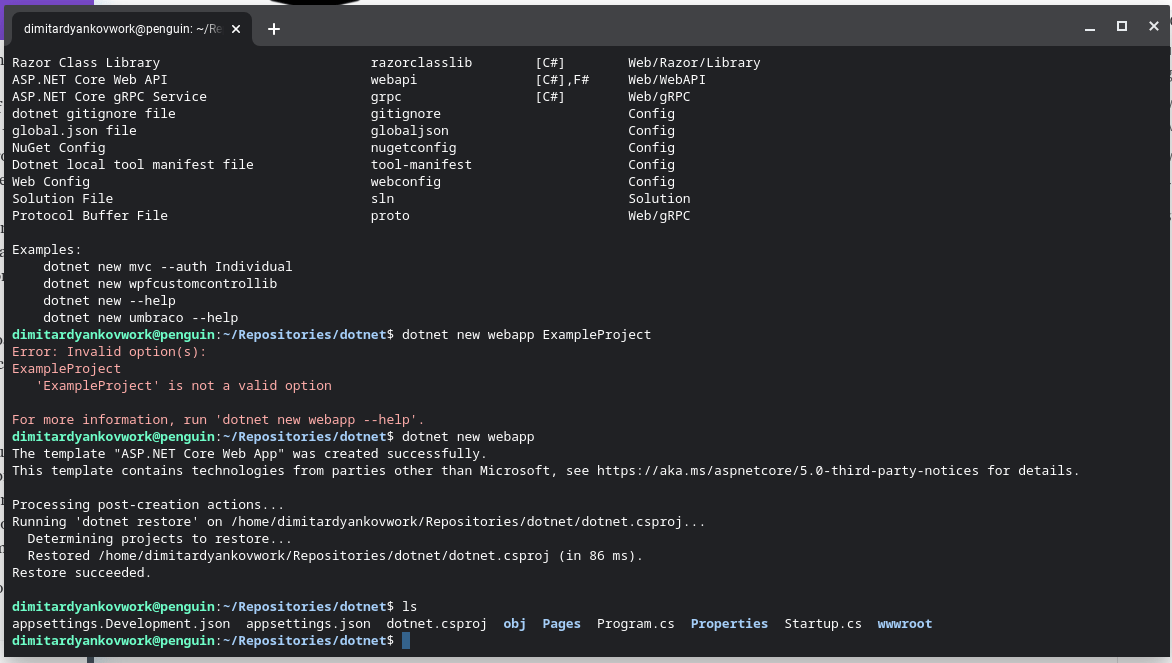
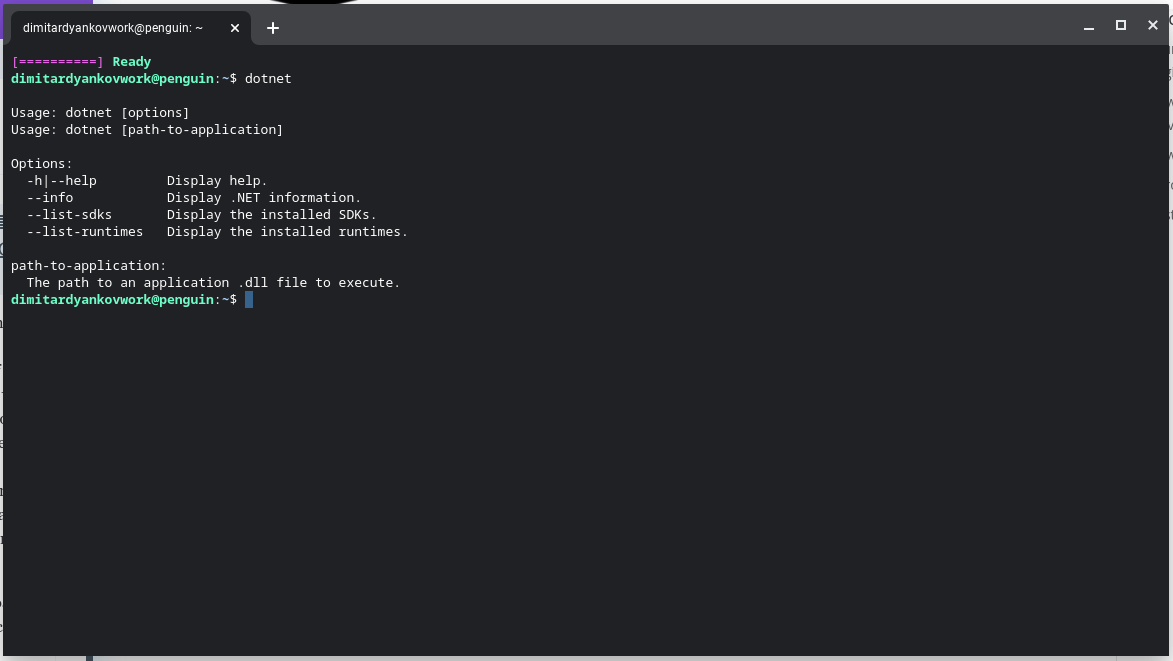
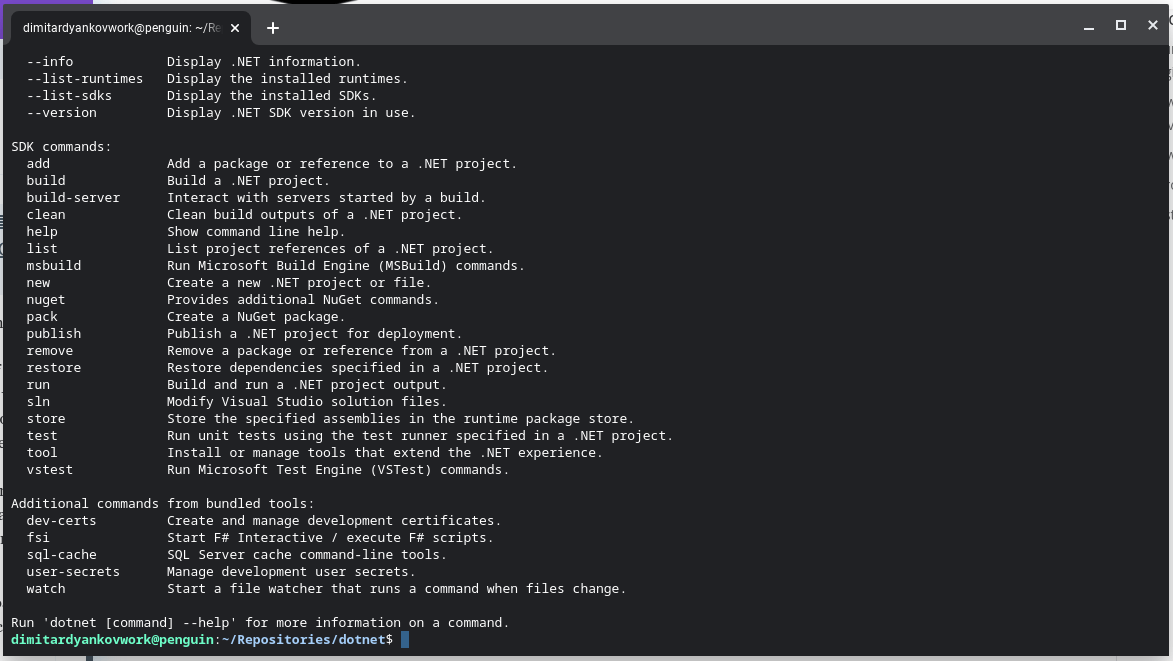
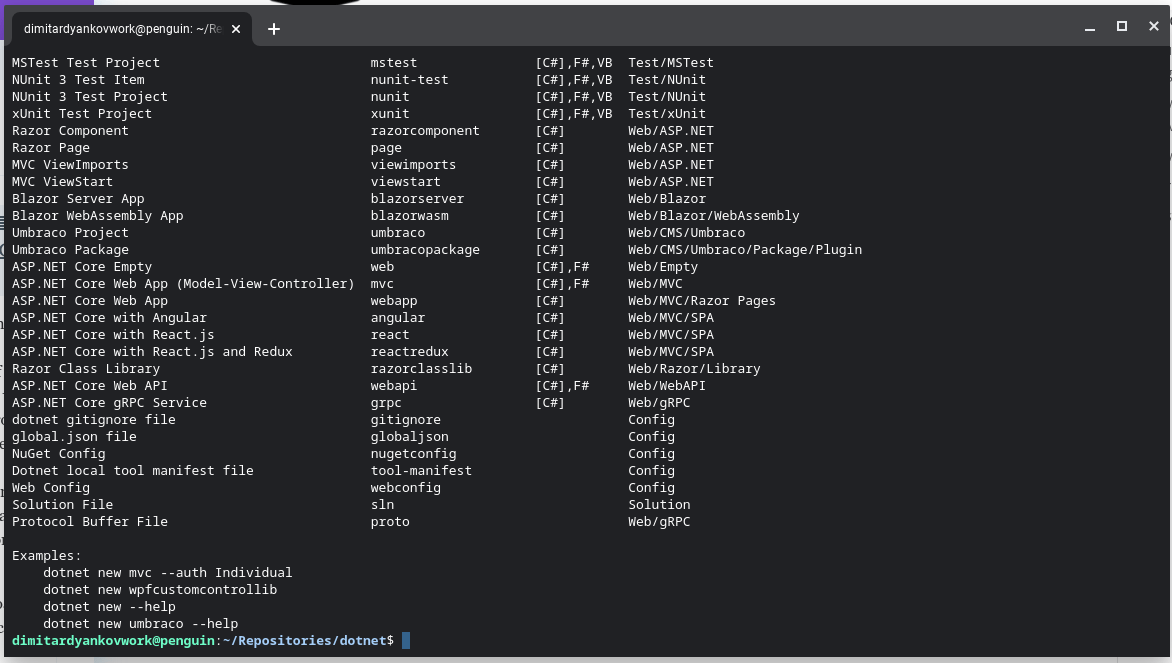
Once it is installed you can start using the "dotnet" commands in your terminal or command line. If you run a "dotnet -h" to see helpful commands. To create a brand new .NET Core Project you will need to run "dotnet new". This won't actually create a new project but it will show you the templates you have an option to choose from.
For this project we want to create a new Web App so you will need to run "dotnet new webapp". If you open your file system you will see the project files have now been created.
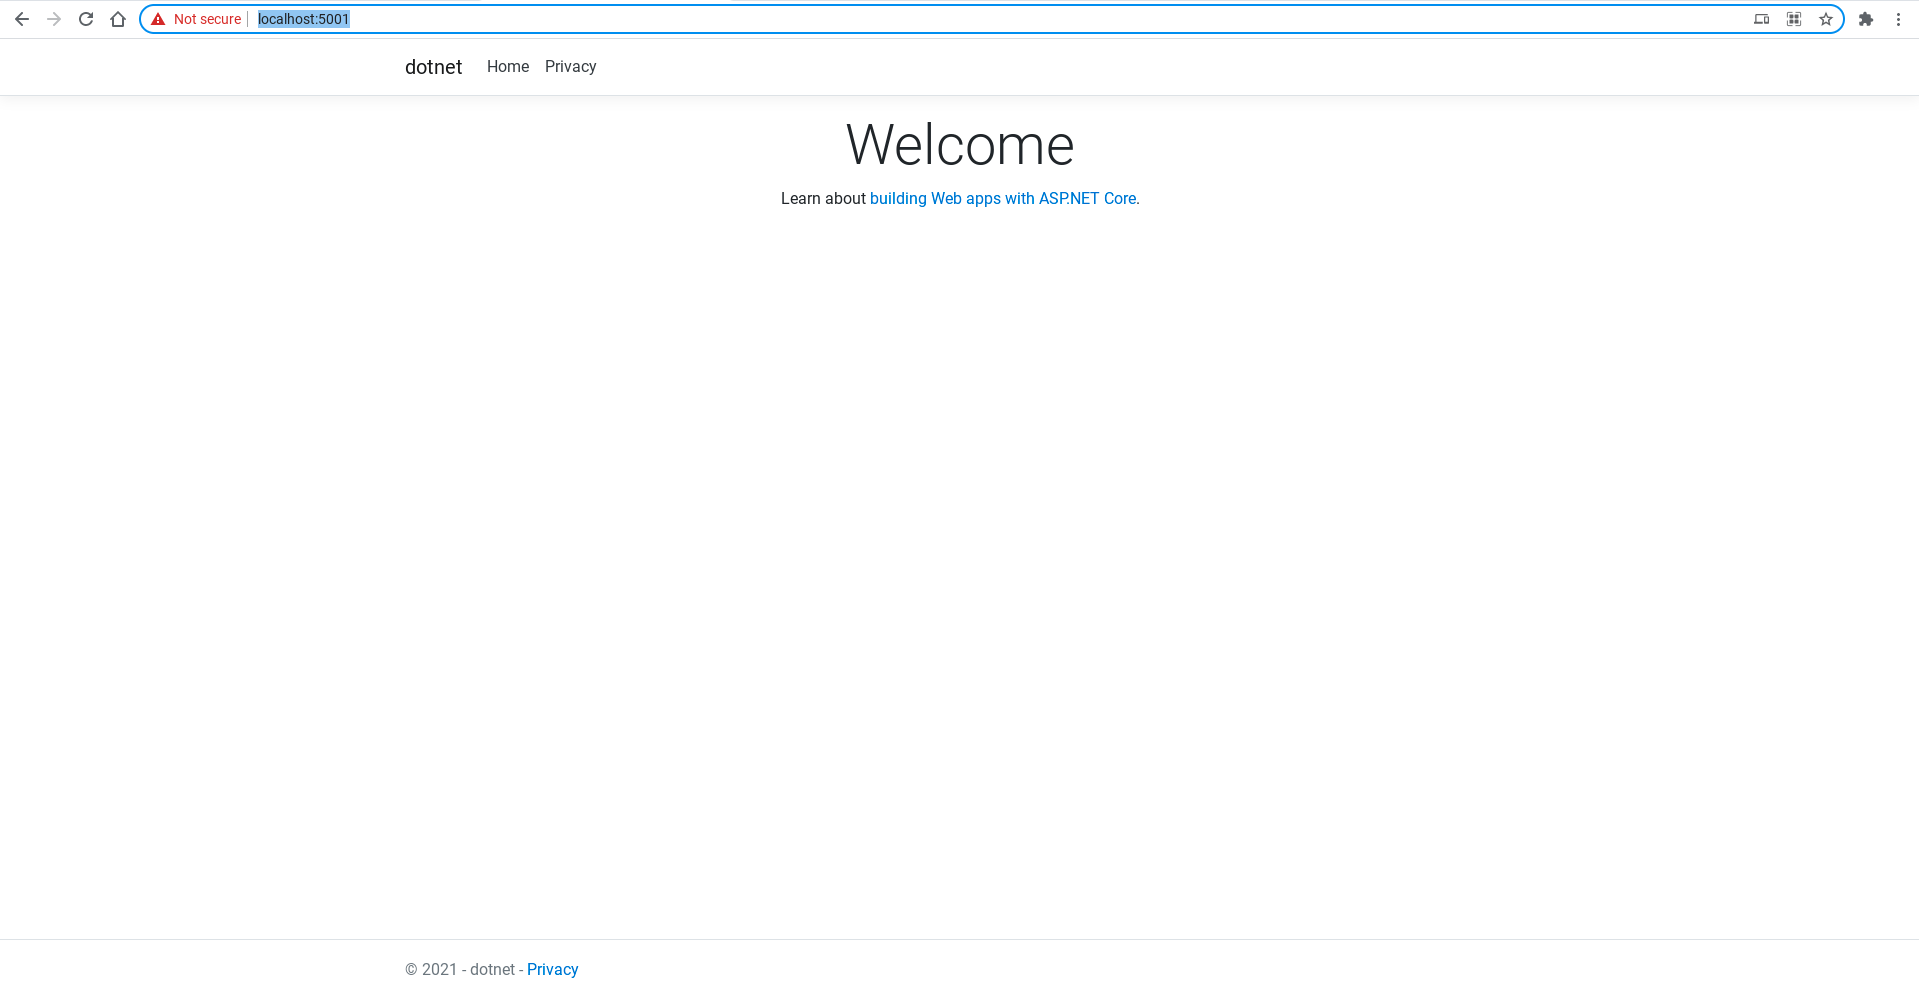
To run the project you will need to run "dotnet run" which will compile the application and run it on a localhost port 5001. If you wish to just build the application run the "dotnet build" command. Once running open https://localhost:5001/ in your browser and you will see the application running!