

Debugging is an essential part of any developer’s job, and JavaScript is no exception. As a popular programming language for web development, JavaScript can sometimes be challenging to debug. Fortunately, there are numerous tools available to help you debug JavaScript code, and one of the most powerful is Google Chrome’s built-in developer tools. In this article, we’ll walk you through the steps on how to debug JavaScript in Chrome.
What is Debugging?
Before we dive into the specifics of debugging JavaScript in Chrome, let’s define what debugging is and why it’s so important. Debugging is the process of finding and fixing errors, or bugs, in your code. When writing complex programs, bugs can be difficult to identify, but fixing them is essential to ensure your code works as intended. Debugging helps developers ensure that their code is functioning correctly and that any errors are fixed before the application is released.
Why Debug JavaScript in Chrome?
There are several reasons why developers choose to debug JavaScript in Chrome. Firstly, Chrome is one of the most popular web browsers and has a range of powerful built-in developer tools that make it easy to debug JavaScript code. These tools include the Console, Elements, Network, and Sources tabs, which can help you quickly identify and fix bugs in your code.
Another reason to debug JavaScript in Chrome is that it’s a convenient way to test your code in a real-world environment. By debugging in Chrome, you can see how your code behaves in a web browser and identify any issues that may not be apparent when running your code locally.
Finally, debugging JavaScript in Chrome can save you time and effort. Chrome’s developer tools allow you to step through your code line by line, set breakpoints, and examine variables in real-time. This level of granularity can help you quickly identify and fix errors, making the debugging process much faster and more efficient.
How to Debug JavaScript in Chrome
Now that we’ve covered why you should debug JavaScript in Chrome let’s walk through the steps to get started:
Step 1: Open Chrome Developer Tools
To access Chrome’s developer tools, you can either right-click on a web page and select “Inspect” or use the keyboard shortcut “Ctrl + Shift + I” (Windows/Linux) or “Cmd + Option + I” (Mac).
Step 2: Navigate to the Sources Tab
Once you’ve opened the Chrome developer tools, click on the “Sources” tab. This tab displays all of the scripts that are loaded on the current web page.
Step 3: Set a Breakpoint
To debug JavaScript code, you’ll need to set a breakpoint in your code. A breakpoint is a marker that tells the debugger to pause the code execution at a specific point. To set a breakpoint, find the line of code you want to pause on and click on the line number. A blue marker will appear, indicating that a breakpoint has been set.
Step 4: Start Debugging
Once you’ve set a breakpoint, reload the page to start debugging. When the code execution reaches the breakpoint, Chrome’s developer tools will pause the code and display the “Sources” tab. From here, you can step through the code line by line, examine variables, and watch the code execution in real-time.
Step 5: Use the Console
The Console tab in Chrome’s developer tools is another powerful tool for debugging JavaScript. You can use the Console to log messages, examine variables, and run JavaScript commands. To open the Console, click on the “Console” tab in the developer tools.
Step 6: Examine Network Activity
The Network tab in Chrome’s developer tools displays all of the network activity that occurs when loading a web page. This includes HTTP requests, responses, and timings. You can use the Network tab to identify slow-loading resources, track down missing files, and diagnose network-related issues that may be impacting the performance of your JavaScript code.
Step 7: Use the Elements Tab
The Elements tab in Chrome’s developer tools displays the HTML and CSS of the current web page. You can use this tab to inspect and manipulate the DOM (Document Object Model), which is the structure that represents the web page in the browser. You can use the Elements tab to diagnose issues with layout and styling, as well as to debug JavaScript code that interacts with the DOM.
Step 8: Identify Memory Leaks
Memory leaks can be a common issue in JavaScript, particularly in applications that make heavy use of dynamic memory allocation. Chrome’s developer tools include a Memory tab that can help you identify memory leaks and other memory-related issues. You can use the Memory tab to take snapshots of memory usage over time and compare the memory usage of different parts of your code.
Step 9: Use the Performance Tab
The Performance tab in Chrome’s developer tools is a powerful tool for diagnosing performance-related issues in JavaScript code. You can use the Performance tab to record and analyze the performance of your code, including CPU usage, memory usage, and network activity. You can also use the Performance tab to identify bottlenecks in your code and optimize performance.
Debugging JavaScript code in Chrome is an essential skill for any web developer. Chrome’s developer tools provide a powerful set of debugging features that can help you quickly identify and fix bugs in your code. By following the steps outlined in this article, you can get started with debugging JavaScript in Chrome and take advantage of the many powerful tools that Chrome’s developer tools have to offer. Whether you’re a beginner or an experienced developer, mastering the art of debugging in Chrome will help you become a more effective and efficient developer.
Other Articles
I Let Claude Rewrite My App Store Keywords (Here’s the Exact Prompt)
I opened App Sprint ASO the other day to check on Vault, my AI prompt library app, and the rankings were… not great. Keywords I should have been winning, I wasn’t even close on. Rather than manually rewriting a title, subtitle and 100-character keyword field across…

The Art and Science of Prompt Engineering: Crafting the Future of AI Interaction
Beyond Keywords – Defining Prompt Engineering We stand at the precipice of a new paradigm in human-computer interaction. The rise of sophisticated Large Language Models (LLMs), such as GPT-4 and its contemporaries, has shifted our communication with technology from…
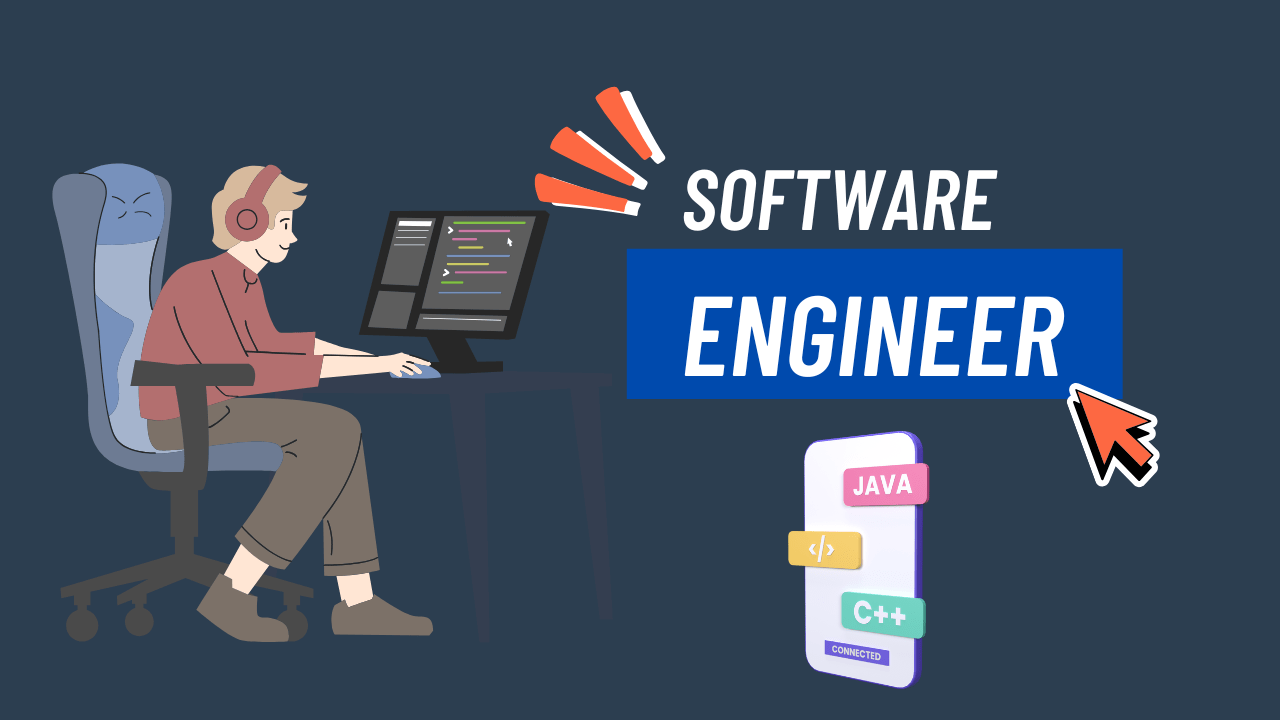
What is a Software Engineer
The Architects of Digital Reality Software engineers constitute the fundamental workforce orchestrating our technologically mediated existence. These professionals transmute abstract concepts into functional applications that permeate every facet of contemporary life….