
Are you, or do you want to become an Android developer? Google has an IDE (independent development environment) specifically made for Android development called Android Studios. There are many other options for developing for Android however if you want to create native running code then you should probably use Android Studios.
Installation
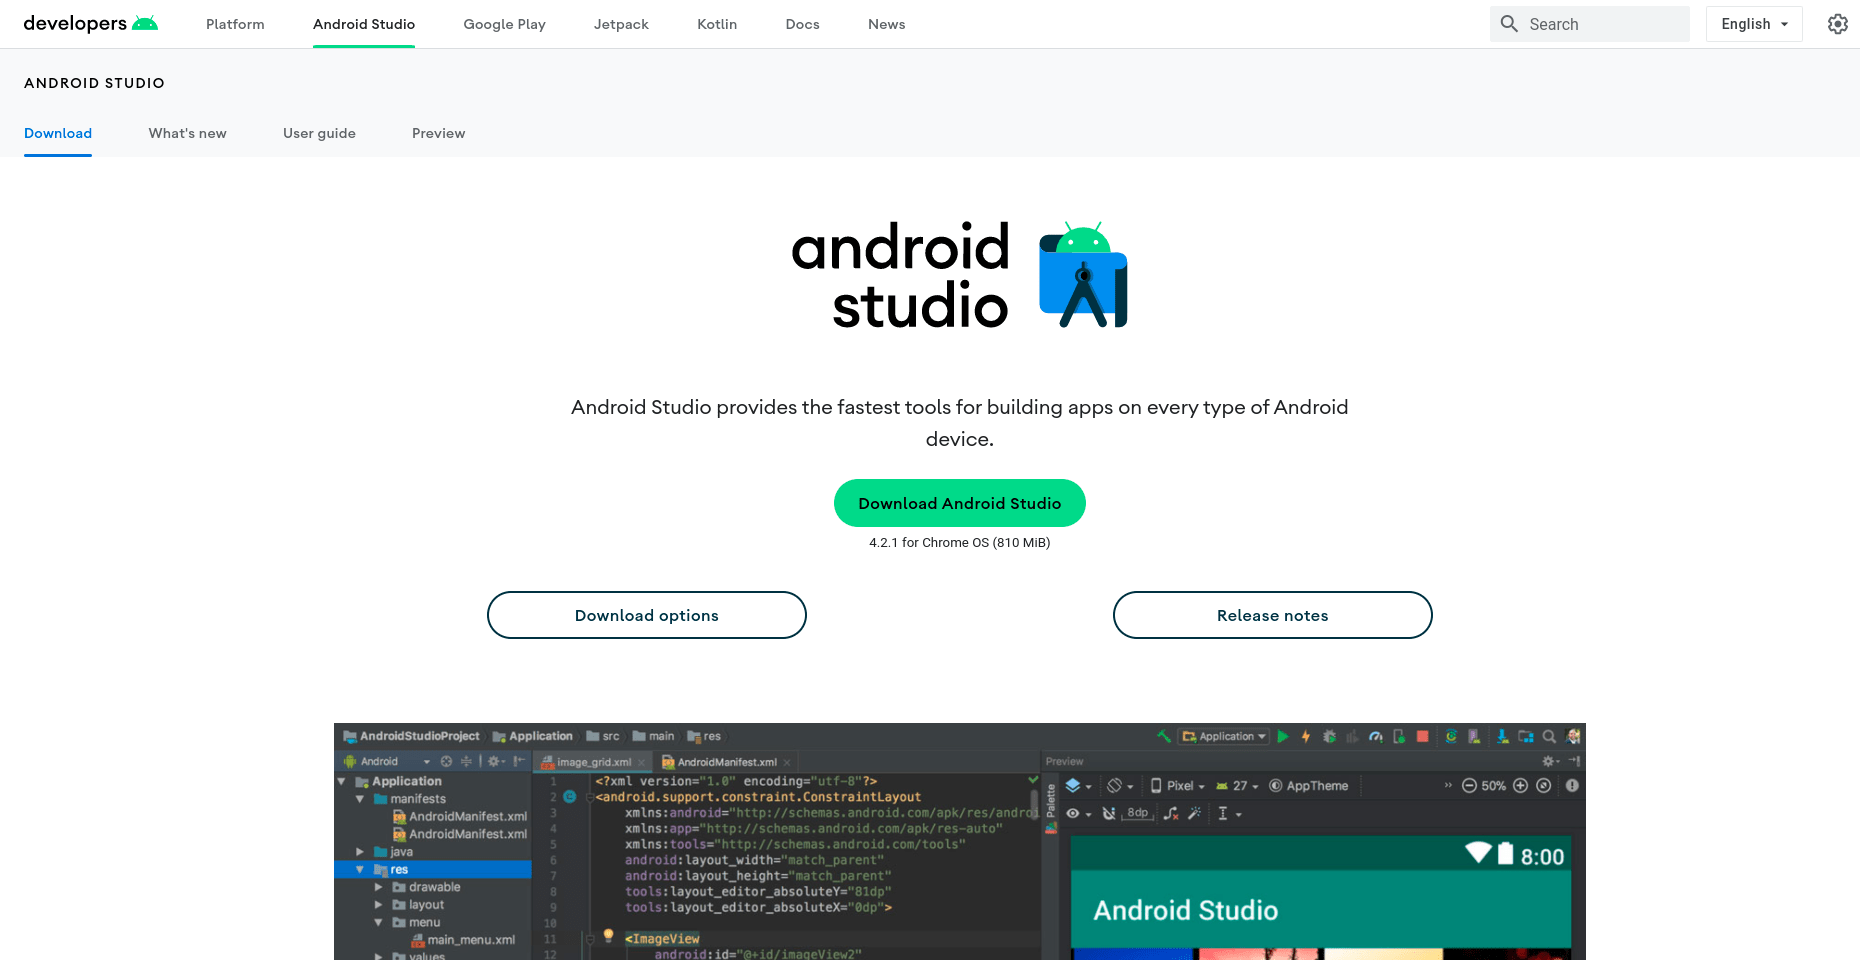
Installing Android Studios is very simple on a Chromebook. All you will need to do is head over to the Android Studios website and download the version for your operating system. Google will recognise what OS you are on and automatically give you the correct download link.
Once the around 1 GB download finishes you will just need to double click the ".deb" file and let Chrome OS do the rest. Please note you will need to have installed and turned on Linux on your device beforehand.
Testing
For those of you who have developed for Android before you might be worried about how you can test and debug your application once you finish coding on your Chromebook. The answer to that concern is that you actually have more ways of testing your application. There are two methods that most of you know. First running and debugging directly onto your Android device. This is perhaps the easiest way on Chrome OS and elsewhere. All you need to do is allow your device to send back data to the chromebook by setting it up the developer settings of your Chromebook.
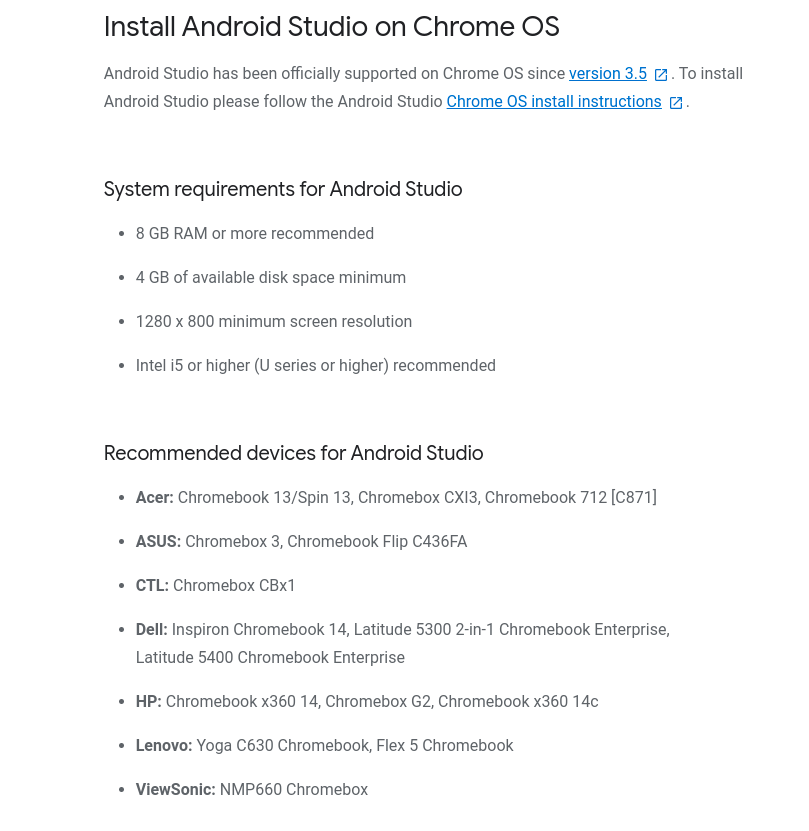
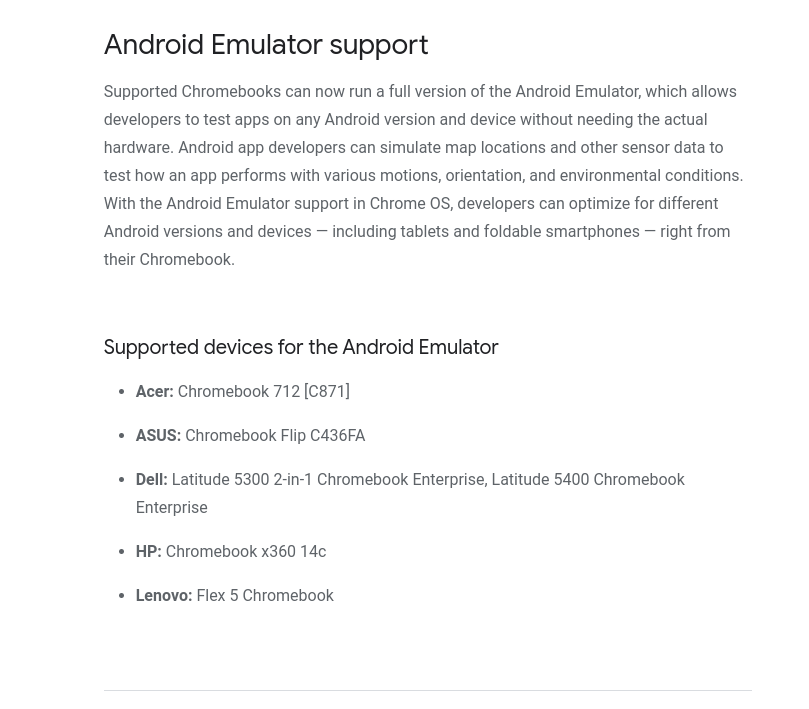
The second option is to create an emulated device directly from Android Studio. This option however is only available to selected devices for the moment as Google is still developing the feature on Chromebooks. Here is a list of the supported Chromebooks that allow emulation of android devices.
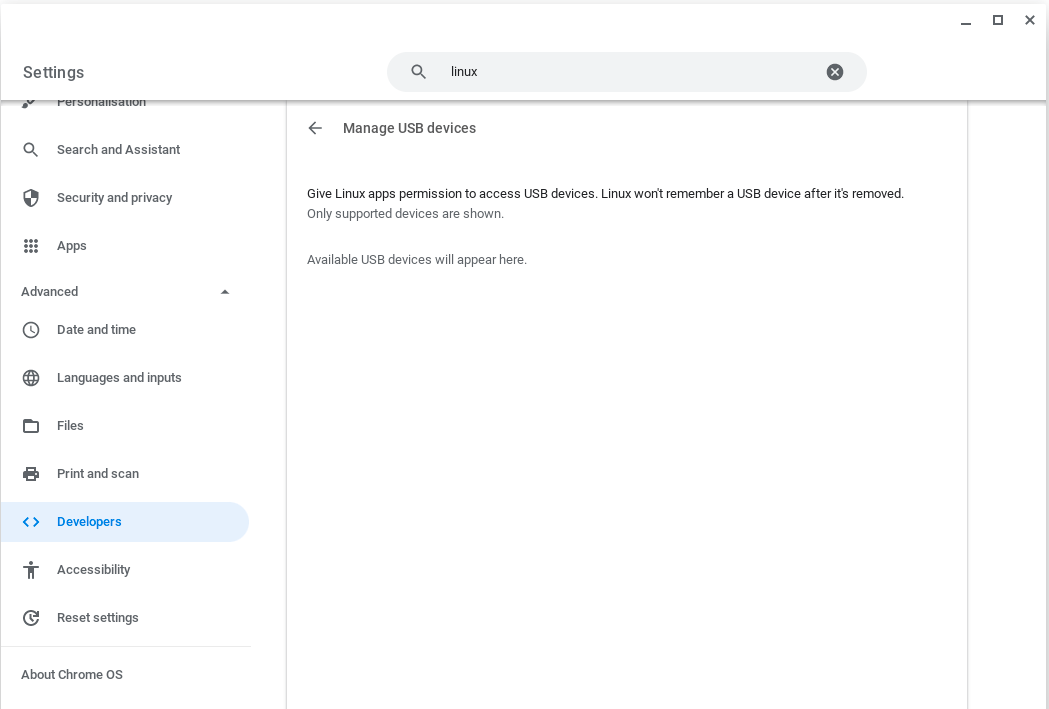
The third option is only available on Chrome OS. Due to Chrome OS allowing the installation of Android applications, you can install, test and debug your application directly on your Chromebook. All you need to do is turn on ADB settings and your Chromebook will show up as a debug device in Android Studio.

Hi I followed your exact steps but mine did not appear in the launcher? how do I find it through terminal
Hi,
You would probably need to look inside the downloads folder, you can use the ls command to see what are the current available files. Hope this helps!