

Azure Functions Applications are some of the fastest growing ways for development teams to build products. They allow for developers to create serverless functions that perform a task such as add an item to a Database. These functions can be created in some of the most popular programming languages and deployed very easily. This then allows developers to build any type of front end or even multiple front ends. For example you can have a website and a mobile application all connecting to the same Azure functions.
The beauty of them is that you only pay for what you use. If you call the function only once in a day, you will only pay for that one call. It allows smaller startups to scale and with their application and user base in a sustainable way.
In this article we will look at how to use the Azure Portal to create a Functions App.
Azure Portal
My assumption is that you already have an Azure account. However, if you do not please head to https://portal.azure.com/ . There you can register for an Azure account and you will actually get some free credit for your first year that you can use to test stuff with.
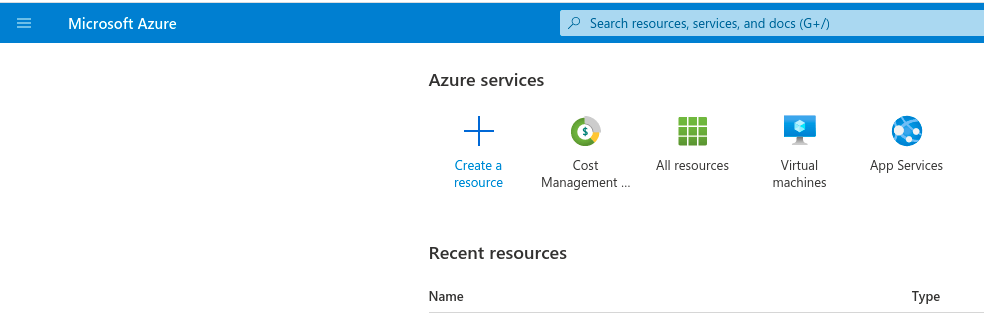
Once you are in and registered you will see the home dashboard where you have a preview of existing items if any and you will have the ability to create new Azure resources.
Please select the "Create a resource" button to start. There will be a search bar and in there you should type Azure Functions:
1. Click Create a resource
2. Search for Function App
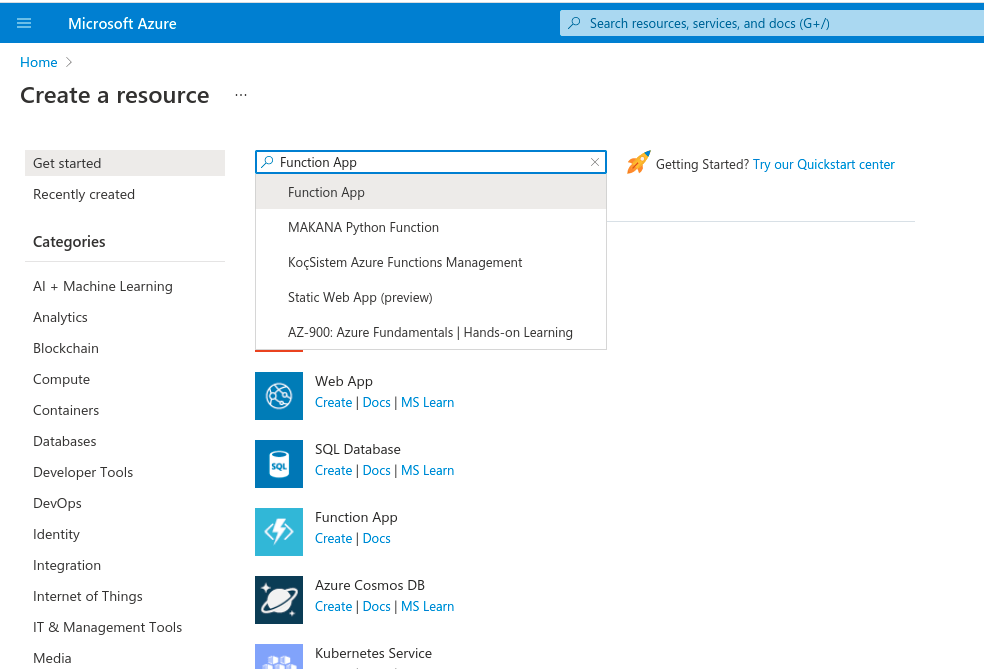
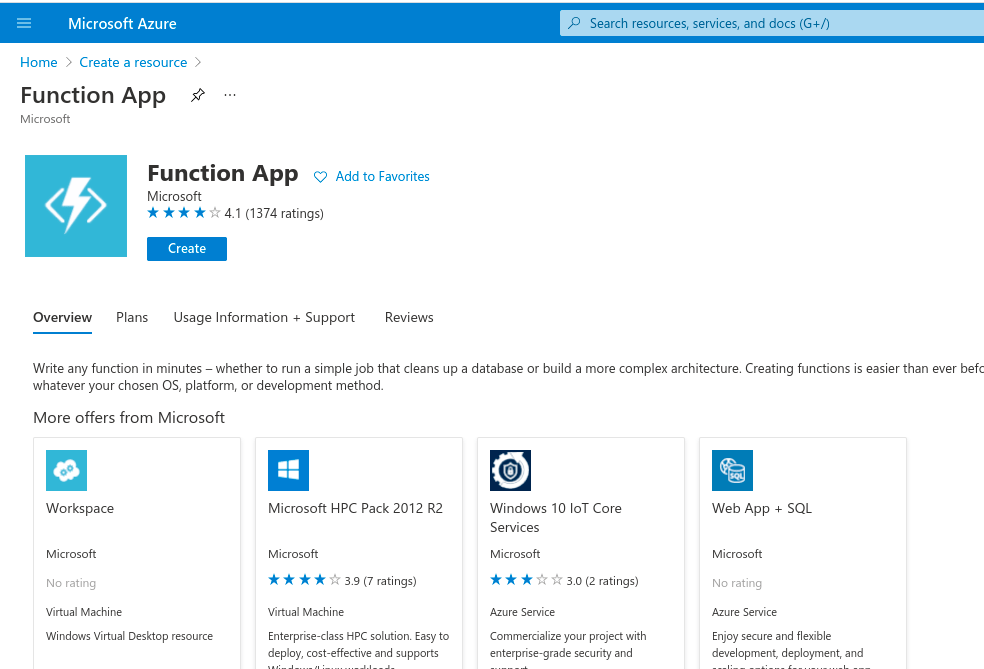
3. Click Create
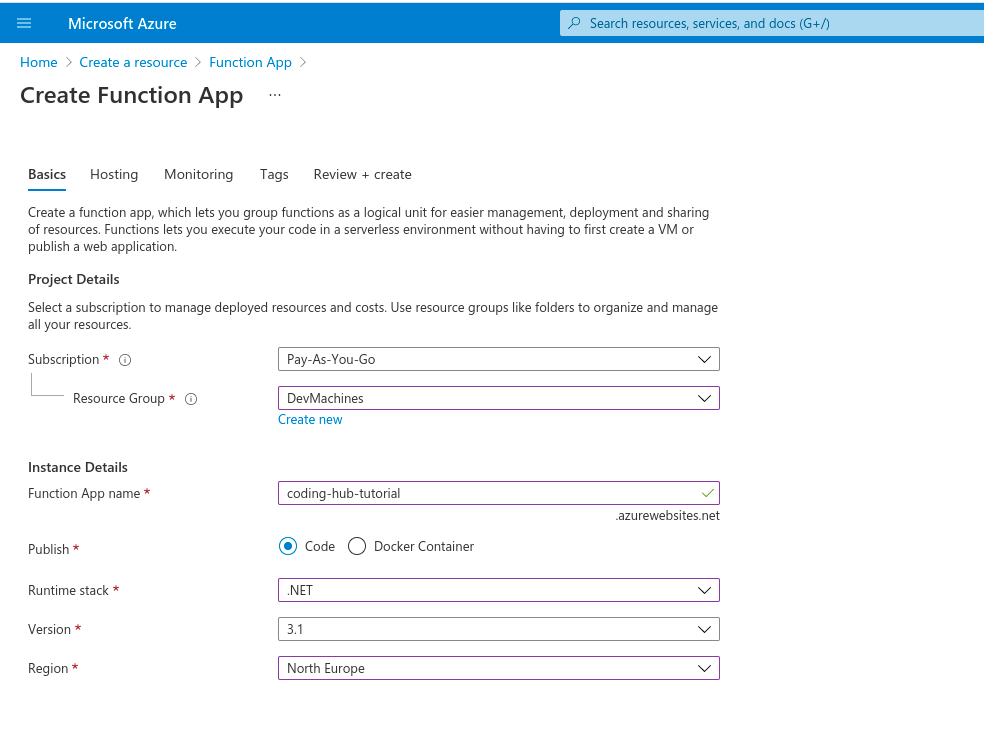
Once you have selected which resource you want to create you will begin the Azure Function App Creation wizard where you will need to decide where it will be hosted, name and runtime stack. This will be different for everyone however we have opted for an application in northern Europe with the .NET runtime stack that will run on a Windows machine. If working with .NET Core you can also choose Linux.
4. Create a Resource Group (Logical grouping of resources for an application). Choose an App Name and choose a runtime stack and region. Pricing may vary depending on your choices. Please use the Azure calculator to understand the differences.
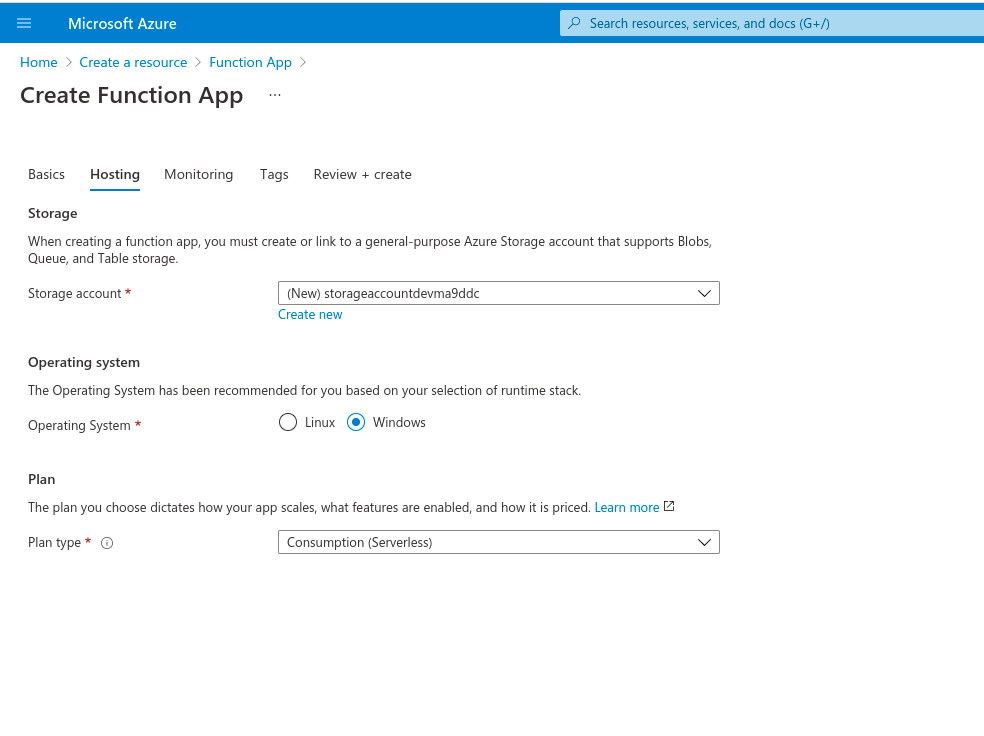
5. A storage account will be required to store function logs for example. Plan type please select consumption as you will only be charged for what you use as it is a serverless application.
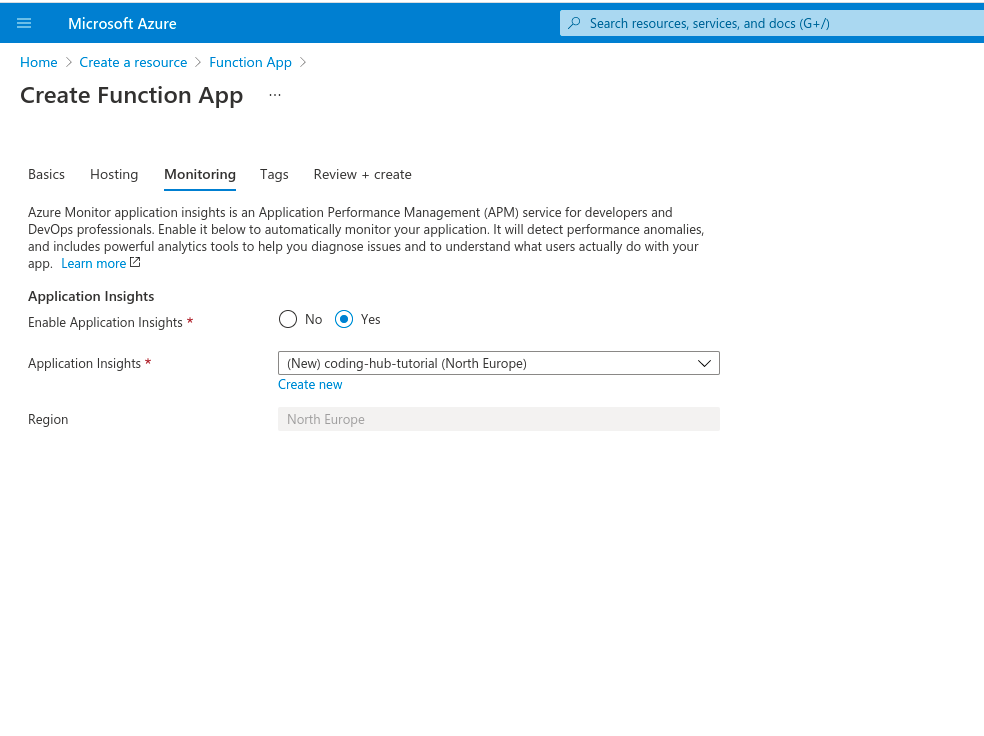
6. Application insights gives you detailed application monitoring which can be useful for debugging and monitoring for any downtime of live environments.
7. If you are happy with everything then click create and the Application will be created and deployed for you.
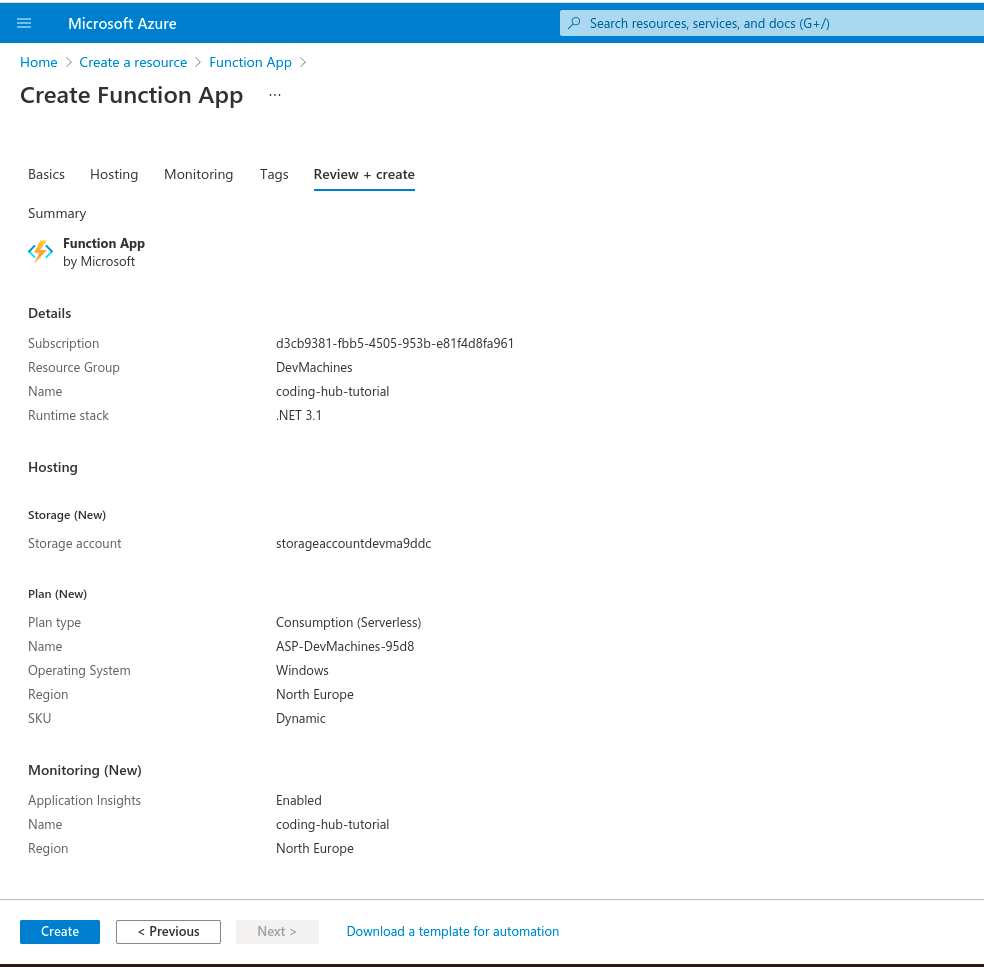
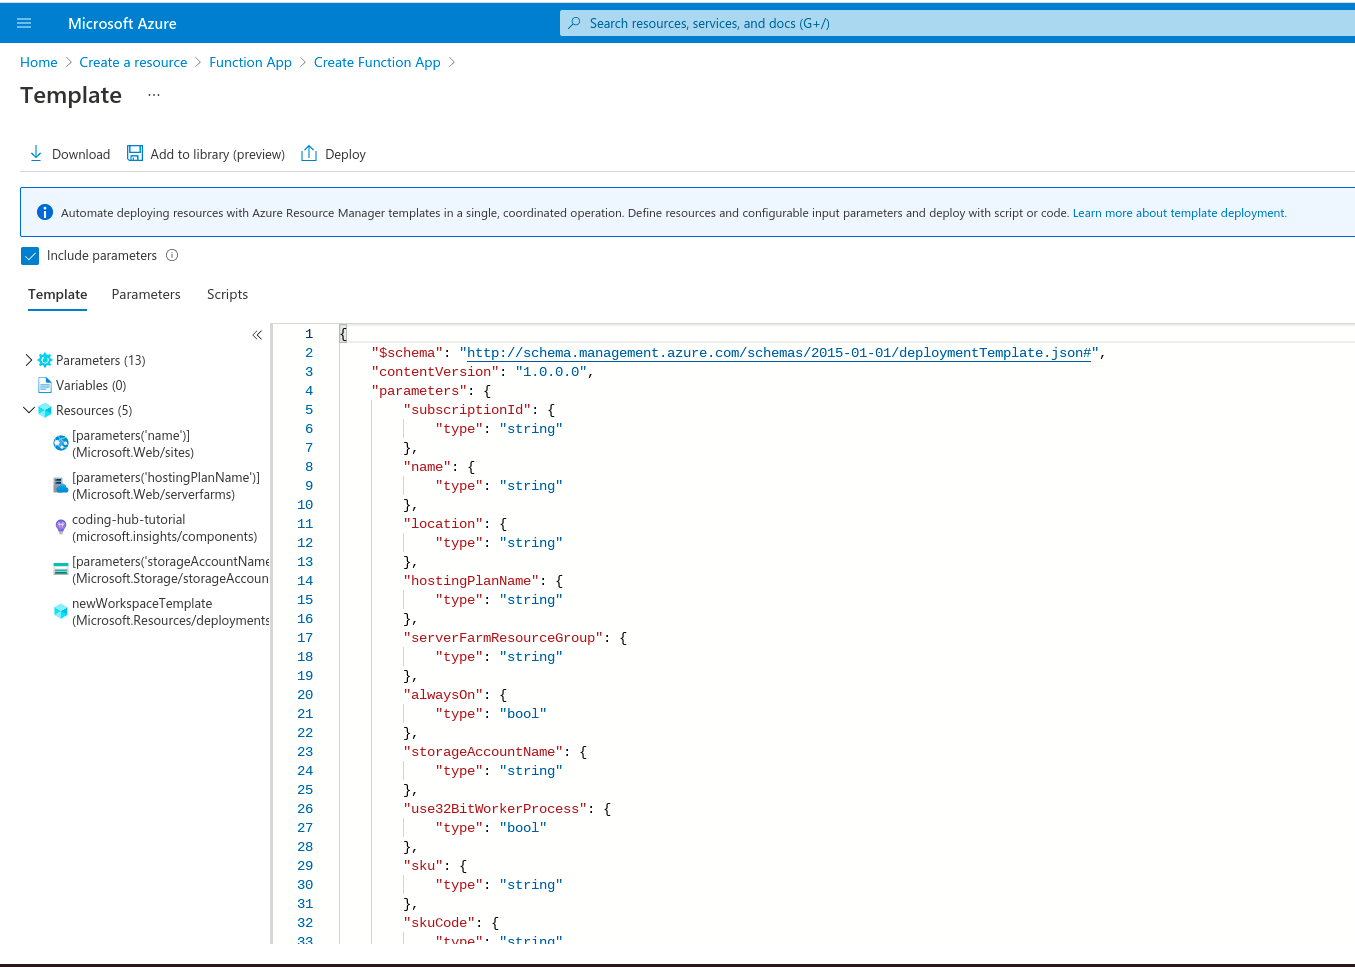
8. If you want to automate your deployments with Azure Pipelines. On the last step before selecting Create, click "Download a template for automation". This will give you a deployment schema that will create these exact resources automatically using Azure Pipelines.
Conclusion
I hope the above tutorial helped you in understanding the benefits of Azure Functions App. Please use this guide when creating functions application and let me know in the comments whats you created after setting it up!