In this week’s article we will look at how to set up a fresh installation of Umbraco on your local machine. We will be create a v8.11.1 Umbraco installation and connecting it to a local SQL Server database. For this tutorial I will be working on a Windows machine as currently Umbraco is not 100 percent working on .NET Core. For you to do this you will also need a Windows computer which Visual Studio Community and SQL Server Developer editions at a minimum.
Creating the project
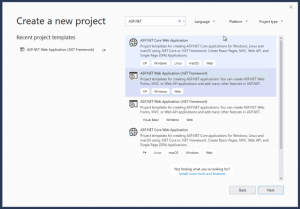
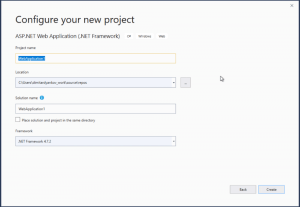
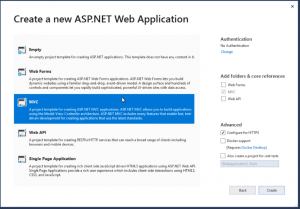
Once you have opened Visual Studio we need to create a blank MVC ASP.NET Web Application (.NET Framework). Make sure to select .NET Framework 4.7.2 and name the project something appropriate.
Installing Umbraco
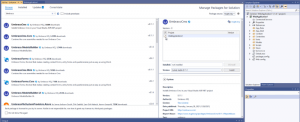
Once the project is created head over to the Nugget Package Manager and search for Umbraco. Install the UmbracoCms package.
Creating the Umbraco Database
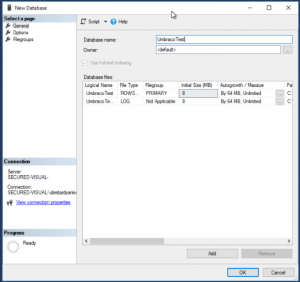
Open SQL Management Studios and create a blank database.
Running and Debugging the Project
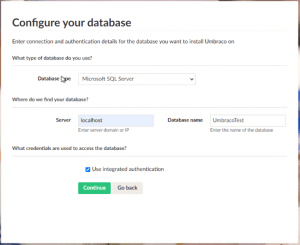
Once the UmbracoCms package is installed go ahead and run the project. It will start doing some installing. Once Umbraco is done installing packages it will start the set up wizard. There you will need create a user, name the site and connect to a Database. You will also have the option to install the example started Umbraco website. If you want to get an idea of Umbraco go ahead and install that to see what is where.
After filling this out make sure to click customize and not install:
I hope the above tutorial has helped you set up a fresh Umbraco installation on your machine. This is great for starting a new project or just learning about Umbraco.


